
1. Hand Shapes
1. Fist: Fingers curled naturally, thumb pressing against the second joint of the index and middle fingers.
2. Palm: Fingers slightly bent and spread, palm slightly cupped, the space between the thumb and index finger forming an arc.
3. Hook: Fingers naturally pinched together at the first joint, wrist bent.
All hand shapes require natural and relaxed strength, avoiding stiffness. The fist should not be too tight; the palm should not be overly straight or too soft; the wrist should remain flexible.
2. Main Techniques
1. Shelf: Arms form an arc, forearms extend forward from below, horizontal in front of the body, palms facing inward, level with the shoulders; the force point is on the outer side of the forearm.
2. Brush: Both arms slightly bent, palms facing each other diagonally, moving in an arc from front to back along the waist.
3. Squeeze: The back hand is close to the inner side of the front hand’s forearm, both arms push forward simultaneously; after squeezing, the arms form a circle, not exceeding shoulder height or dropping below chest level, with the force point on the back hand’s palm and the front hand’s forearm.
4. Press: Both palms push forward from behind; after pressing, the wrists should not exceed shoulder height or drop below chest level, palms facing forward, fingers pointing up; arms slightly bent, elbows relaxed. Pressing should coordinate with bow stance and relaxed waist.
5. Punch (Chong Quan): The fist rotates from the waist and strikes forward; after striking, the fist’s opening faces up, not exceeding shoulder height or dropping below the groin, arms slightly bent, elbows should not be stiff, with the force point on the fist surface.
6. Plunge Punch: The fist strikes downwards from above, after striking, the fist surface faces downwards, the space between the thumb and index finger is to one side, with the force point on the fist surface.
7. Piercing Punch: The fist strikes horizontally from the lower side to the upper side; arms slightly bent, fist opening facing down, with the force point on the fist surface.
8. Slanting Punch: The fist strikes forward from above; the fist’s heart is angled upwards, level with the head, with the force point on the back of the fist.
9. Threading Punch: The fist extends along the inner side of the other arm or thigh.
10. Lifting Punch: The arm extends from bent to straight, the fist strikes downwards or downwards forward, after striking, the fist’s heart faces down, not exceeding shoulder height or dropping below the groin.
11. Embrace Palm: Both palms face each other or slightly apart, forming a ball shape in front of or to the side of the body; the upper hand should not exceed shoulder height, the lower hand should be about level with the waist, both palms forming a circle, arms in an arc, shoulders relaxed and elbows hanging.
12. Separate Palms: Both palms separate diagonally forward and backward or diagonally upward and downward; after separation, the front hand stops in front of the head or body, the back hand presses beside the hip, with both arms slightly bent in an arc.
13. Scooping Palm: The palm scoops horizontally in front of the knee, stopping beside the hip, palm facing down.
14. Pushing Palm: The palm pushes forward from the shoulder or chest, palm facing forward, fingers pointing up, not exceeding eyebrow height or dropping below shoulder height, arms slightly bent in an arc, elbows should not be stiff.
15. Threading Palm: The palm extends along the inner side of the other arm or thigh.
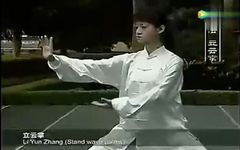
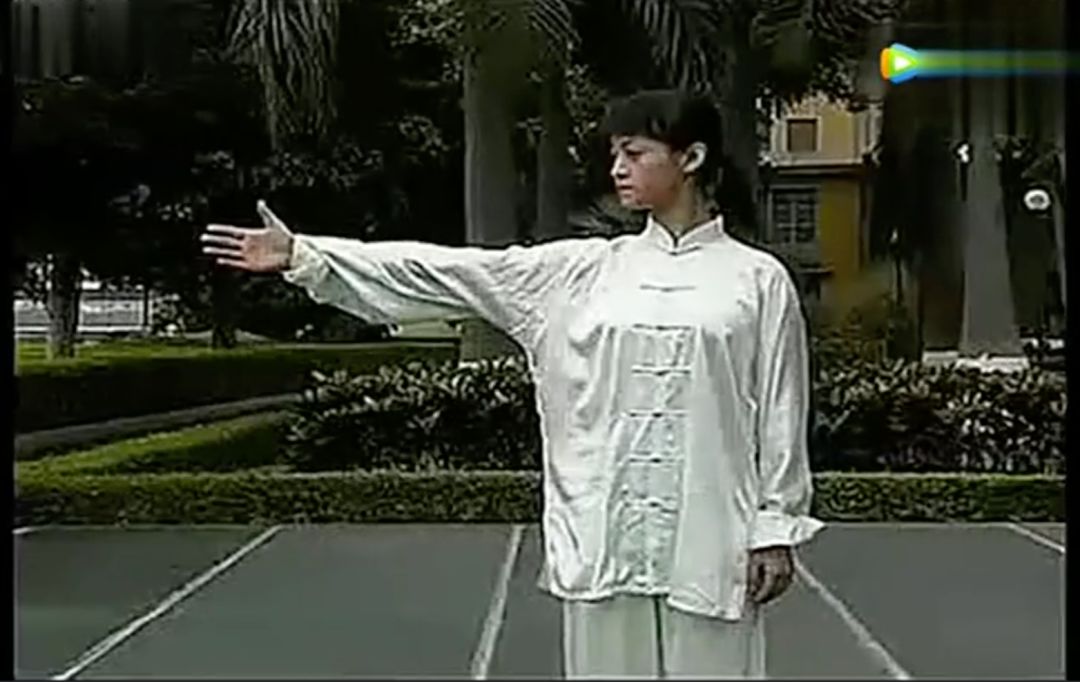
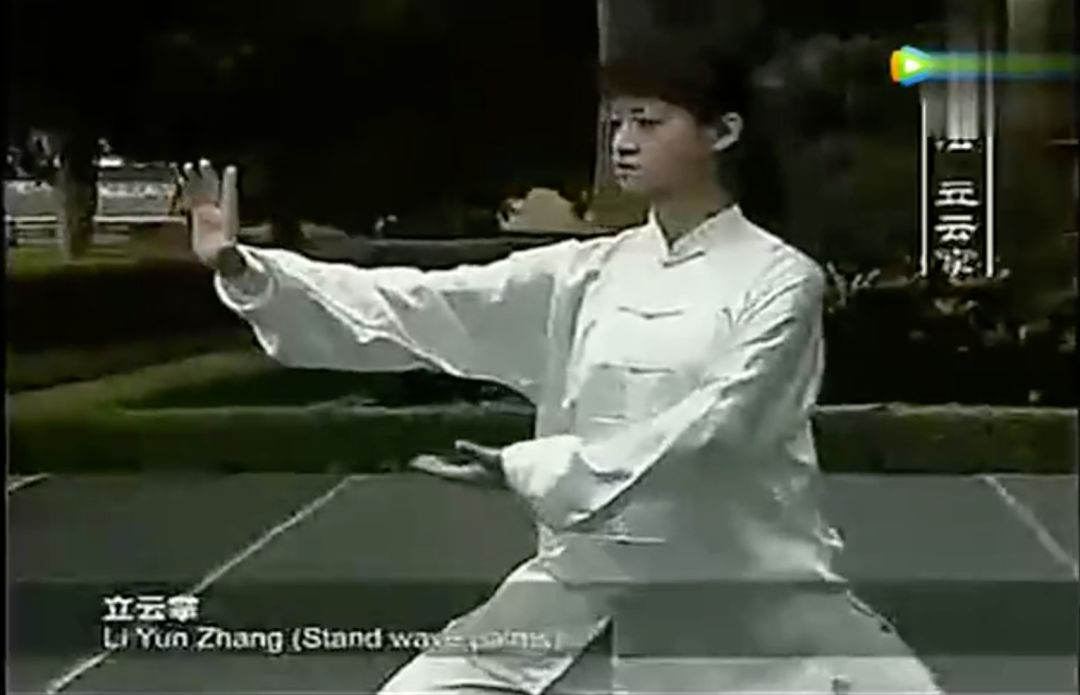
16. Cloud Hands: Both palms cross in front of the body and draw circles to the sides, fingers not exceeding head height or dropping below the groin, both palms twisting and wrapping during the cloud hands movement.
17. Lifting Palm: The palm lifts forward or downwards, palm facing up or forward, not exceeding chest height or dropping below the groin.
18. Frame Palm: The arm is bent upwards, the palm frames diagonally above the forehead, palm facing outward.
19. Supporting Palm: Both palms support upwards, symmetrically applying force.
20. Pressing Palm: The thumb points inward, palm facing down, pressing down horizontally.
21. Supporting Palm: The palm faces up, lifting from below.
22. Plucking: The palm brushes diagonally downwards from the front.
23. Ripping: The palm strikes diagonally outward.
24. Leaning: The shoulder, back, or upper arm exerts force diagonally outward.
25. Rolling Elbow: The forearm is vertical in front of the body, rotating while pushing outward.
All techniques require a curved path, with the forearm rotating accordingly, avoiding direct and stiff movements, and ensuring coordination with body and footwork. After extending the arms, shoulders and elbows should be relaxed, wrists flexible, and fingers spread, avoiding stiffness or excessive softness.
Regarding the focus points of the techniques, they mainly illustrate their offensive and defensive meanings; during practice, one should emphasize intention over force, avoiding deliberate stiffness.
3. Footwork
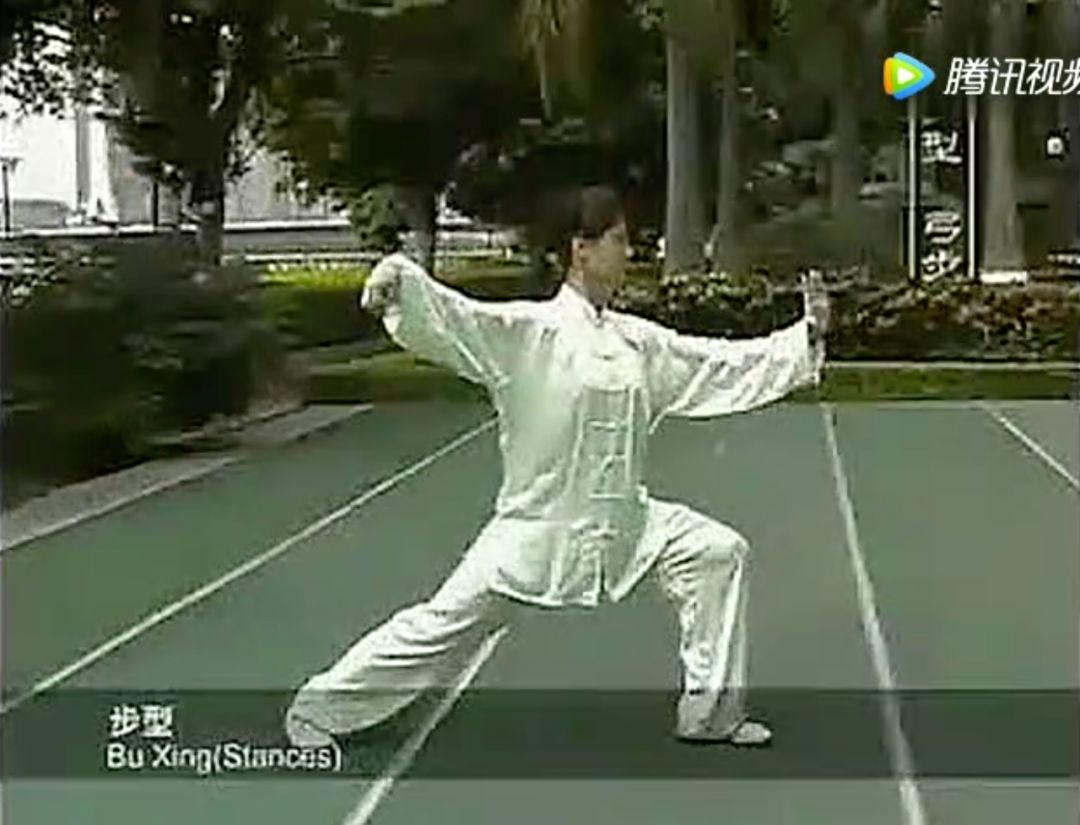
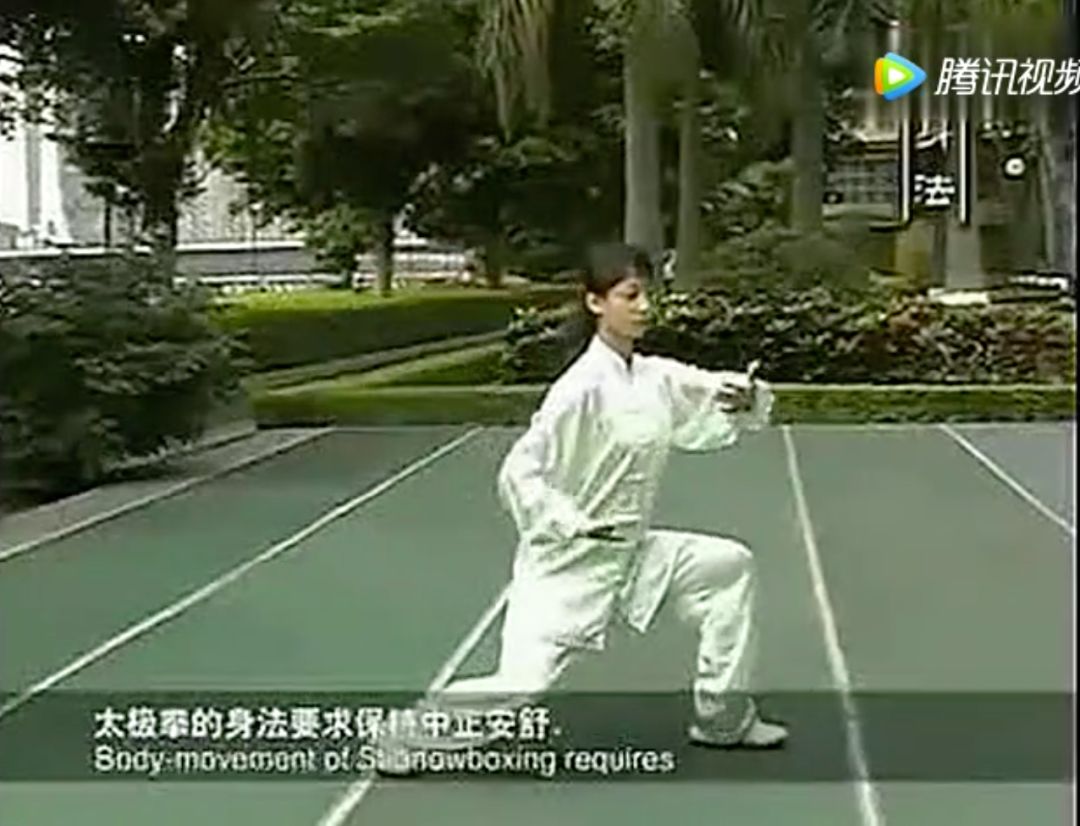
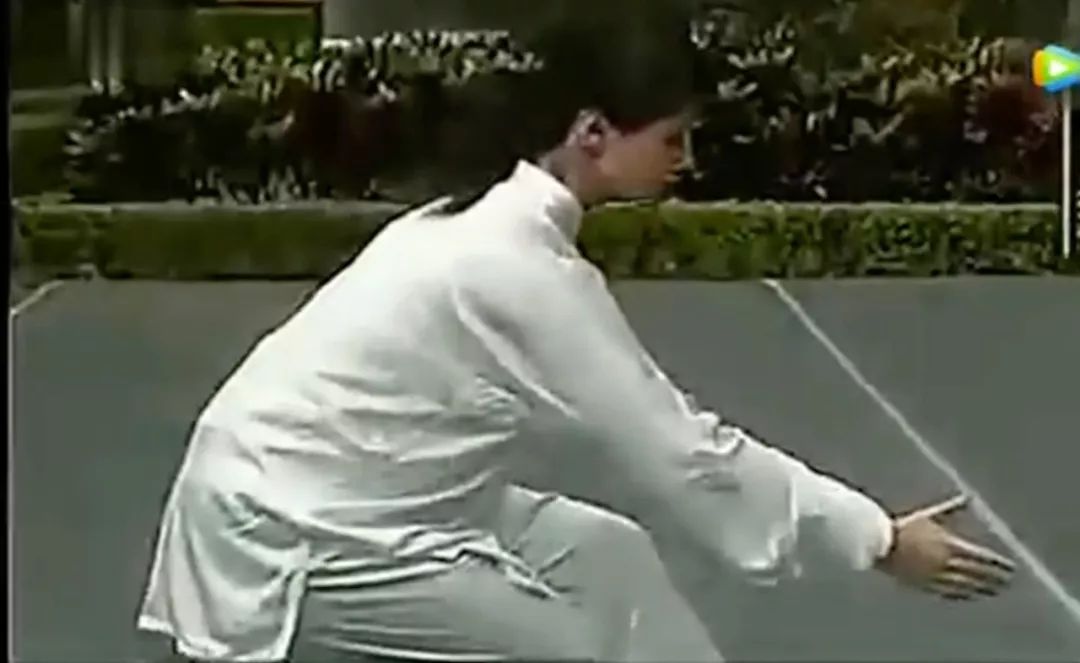
1. Bow Stance: The front leg bends at the knee, thigh angled towards the ground, knee and toes generally vertical, toes pointing straight ahead; the back leg is naturally straightened, toes angled forward about 45°-60°. Both feet should be fully grounded.
2. Empty Stance: The back leg bends, thigh angled towards the ground (above horizontal), heel and hip generally vertical, toes angled forward, fully grounded; the front leg is slightly bent, using the front foot, heel, or whole foot to ground.
3. Squatting Stance: One leg squats fully, foot grounded, toes slightly outward; the other leg is naturally straightened to the side, close to the ground, fully grounded, toes inward.
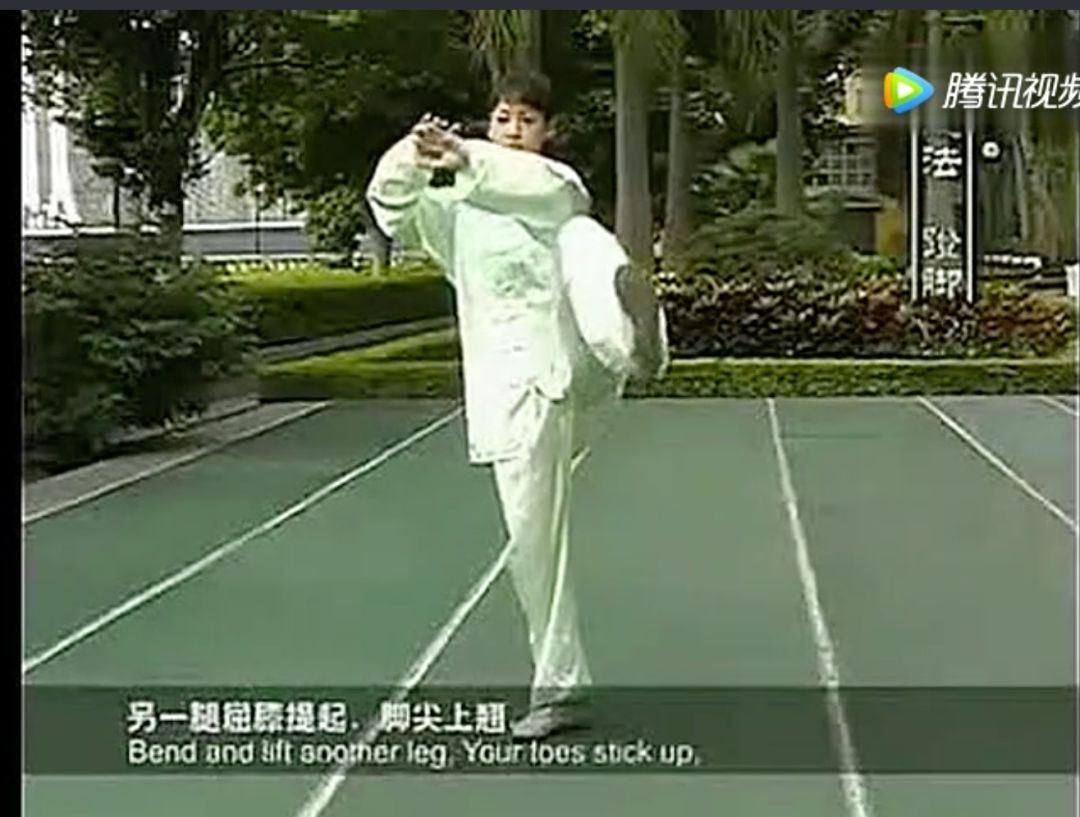
4. Independent Stance: The supporting leg is slightly bent, the other leg is raised at the knee, held in front of the body, thigh above horizontal.
5. Open Stance: Both feet parallel, not wider than shoulder width, legs straight or bent.
6. Resting Stance: Both legs cross and squat, overlapping front and back, with the back knee close to the front knee’s hollow. The front foot is fully grounded, toes outward, the back foot’s front foot is grounded, toes pointing forward.
7. Half Horse Stance: The front foot points straight ahead, the back foot points outward, feet about two to three foot lengths apart, fully grounded. Both legs squat, thighs above horizontal, weight slightly on the back leg.
8. Ding Stance (Point Stance): One leg squats fully, the other leg is bent and drawn in, foot stopping inside or slightly in front or behind the supporting foot about 10 cm, the front foot lightly touching the ground.
9. Side Bow Stance: Both feet open to the sides, the same width as the bow stance, toes pointing forward; one leg squats, knee vertical to toes, the other leg is naturally straightened.
All footwork should be natural and stable, with clear distinction between empty and full. Hips should be contracted, knees relaxed, buttocks tucked, and feet grounded. The distance between the feet should not be too large or too small, maintaining an appropriate span, especially in the bow stance, where the feet should not be on the same line to facilitate relaxed waist and hips, sinking qi to the dantian, and stabilizing the center of gravity.
4. Main Steps
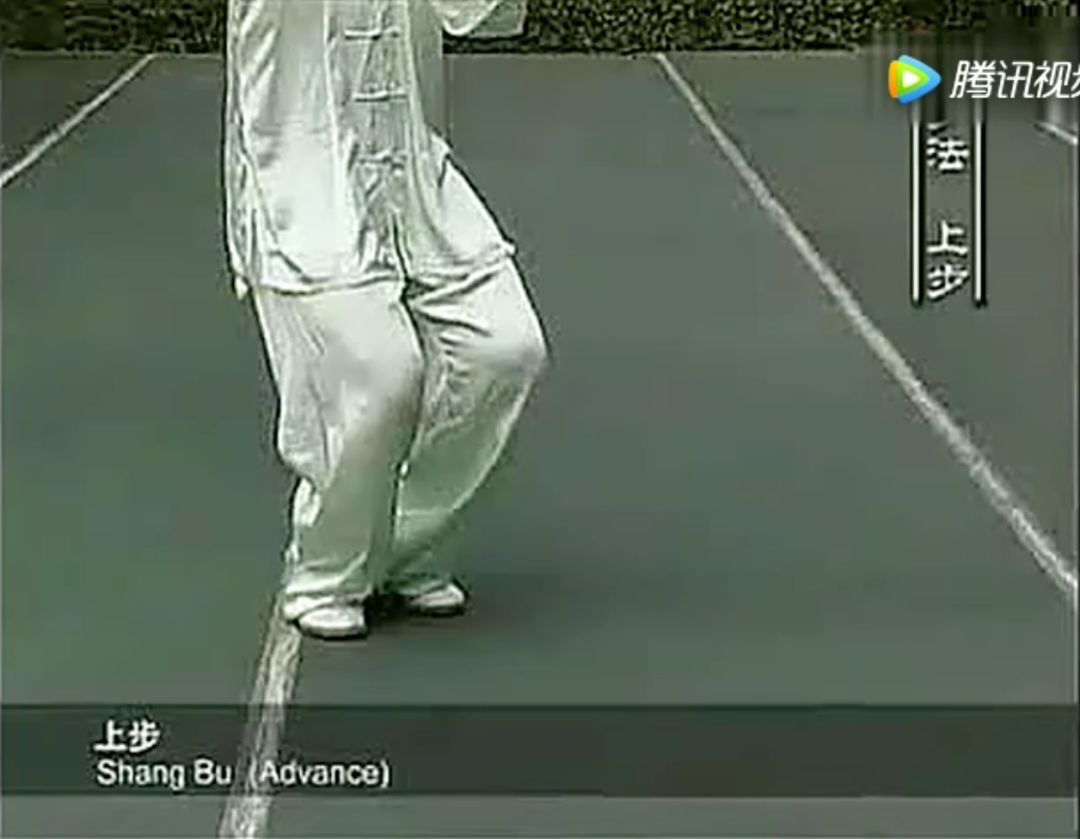
1. Advancing Step: The back foot steps forward or the front foot steps forward half a step.
2. Retreating Step: The front foot steps back one step.
3. Withdraw Step: The front or back foot steps back half a step.
4. Advancing Steps: Both feet step forward consecutively.
5. Following Step: The back foot steps forward half a step.
6. Side Step: Both feet parallel, moving sideways consecutively.
7. Covering Step: One foot lands in front of the supporting foot to the side.
8. Inserting Step: One foot lands behind the supporting foot to the side.
9. Rolling Foot: Using the heel as an axis, toes point outward or inward; using the front foot as an axis, the heel points outward.
All footwork changes require lightness and steadiness, with clear distinction between empty and full. When advancing, the heel should touch the ground first; when retreating, the front foot’s toes should touch the ground first, stepping like a cat, avoiding heavy and clumsy movements. The distance between the feet should be appropriate, and the rolling of the foot should be moderate to stabilize the center of gravity and maintain a smooth posture. The extended leg should be natural, and the knee should not be locked.
5. Leg Techniques
1. Kicking: The supporting leg is slightly bent, the other leg is raised at the knee, the lower leg swings up, toes pointed back, heel kicks outward, above waist height.
2. Splitting: The supporting leg is slightly bent, the other leg is raised at the knee, then the lower leg swings up, the foot is flat, toes kick forward, above waist height.
3. Slapping: The supporting leg is slightly bent, the other leg kicks up, the foot is flat, the palm meets the foot in front of the forehead.
4. Lotus Kick: The supporting leg is slightly bent, the other leg kicks from the opposite side, swinging in a fan shape in front, the foot is flat, both hands meet the foot in front of the forehead, creating two sounds.
All leg techniques require stable support, knees should not be locked, hips should be flexible, and the upper body should remain upright, avoiding bending forward or backward, or tilting sideways.
6. Body Shape, Movement, and Eye Techniques
1. Body Shape
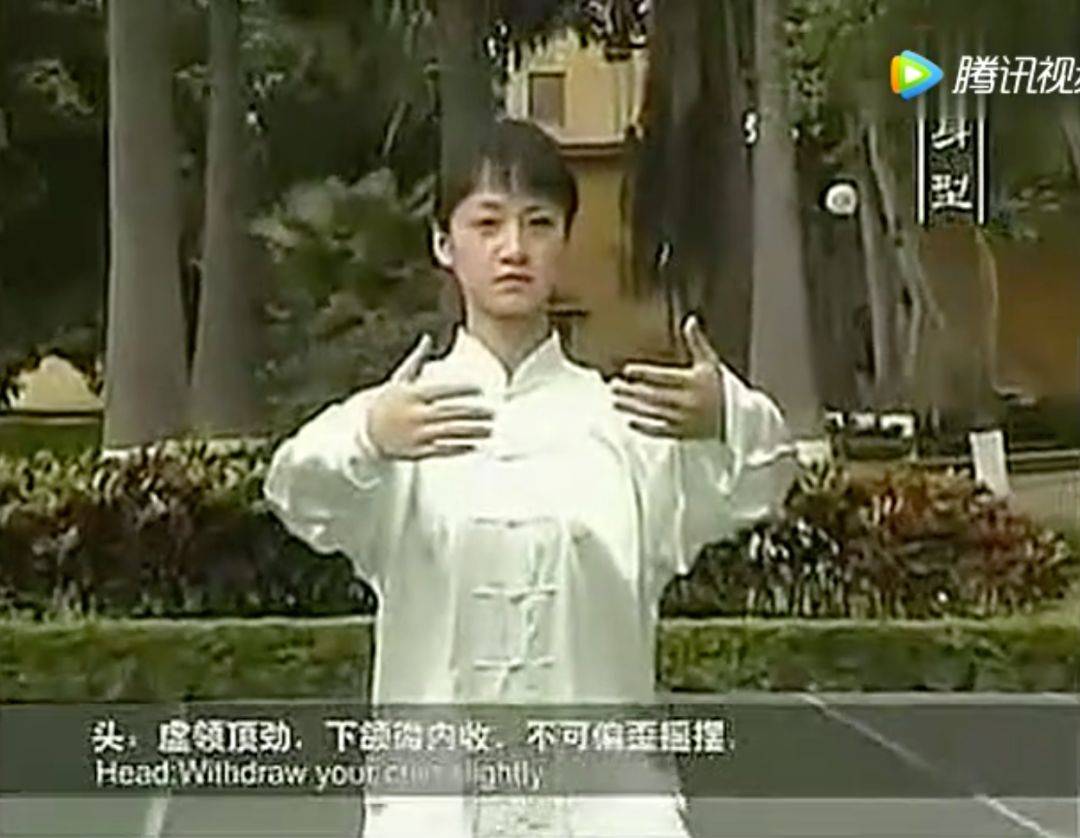
1. Head: The crown is lifted, not tilted or swaying.
2. Neck: Naturally vertical, muscles should not be tense.
3. Shoulders: Keep relaxed and heavy, not raised, nor pushed back or forward.
4. Elbows: Relaxed and hanging naturally, slightly bent, not stiff or raised.
5. Chest: Relaxed and slightly contained, not puffed out or intentionally drawn in.
6. Back: Extended and upright, not hunched.
7. Waist: Relaxed and natural, not arched backward or pushed forward.
8. Spine: Upright and centered, not twisted sideways.
9. Hips: Tucked inward, not protruding or swaying.
10. Knees: Bending and extending naturally, not locked.
2. Body Movement
Maintain a centered and comfortable posture, rotating flexibly, not leaning or swaying, moving naturally and steadily. Movements should pivot around the waist, coordinating the limbs, moving up and down together, avoiding stiffness, floating, or erratic movements.
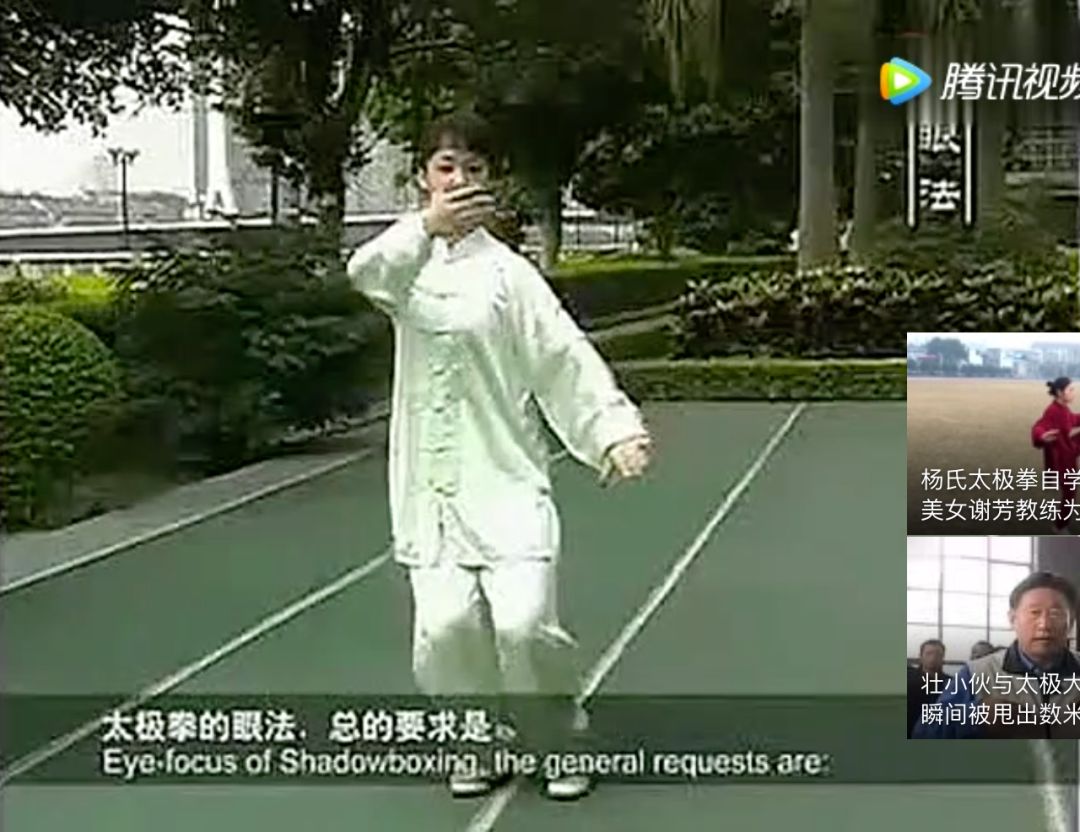
3. Eye Techniques
The overall requirement is to concentrate the mind, guide intention, focus spirit, and maintain a natural demeanor. In a fixed posture, the eyes should look straight ahead or focus on the hands; during transitions, the gaze should coordinate with the hand techniques and body movements.
7. Key Points of Movement
1. Body relaxed, mind calm, breathing natural. Each part of the body should be naturally relaxed, avoiding excessive force. The mind should be quiet and focused, guiding the movements. Breathing should be natural, smooth, deep, and even, coordinating with movements and energy flow; the general rules are “inhale on the empty, exhale on the full,” “open inhale, close exhale,” “rise inhale, fall exhale,” avoiding forced breath-holding.
2. Movements should be curved, with clear distinctions between empty and full. Movements should follow a curved path, avoiding direct and stiff transitions. The center of gravity should move steadily, with clear distinctions between empty and full, avoiding sluggishness.
3. Up and down should coordinate, forming a complete circle. Movements should pivot around the waist, coordinating the limbs, forming a complete whole. Avoid disjointed hand and foot movements, separating the waist from the body, or breaking the flow of energy.
4. Movements should be smooth and natural. Actions should be continuous and gentle, flowing without interruption. Speed should generally be even, avoiding sudden changes. When exerting force or slapping the foot, speed can vary, but the transitions should remain natural, maintaining a complete and cohesive energy.
5. Light and steady, combining hardness and softness. Energy should be light and not floating, steady and not stiff, externally soft and internally solid, combining hardness and softness. The force should originate from the waist and legs, reaching the hands, with elastic release, embodying softness within hardness.