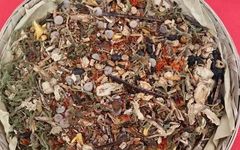

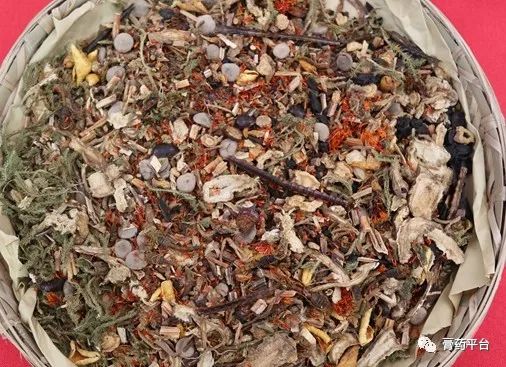
Medicinal plasters are a type of external ointment (including ointments, plasters, and adhesive bandages) that historically belonged to the category of “thin applications.” They are made from edible vegetable oils and lead powder or yellow lead, which are processed at high temperatures to create a hard lead ointment base, containing medicinal or herbal extracts. As a traditional dosage form in Chinese medicine, the use of medicinal plasters dates back to the Jin Dynasty, with records in Ge Hong’s “Emergency Prescriptions for Emergencies” mentioning the preparation of “ointment” from oil and lead. The “Liu Juanzi’s Ghostly Inheritance” also contains various records of “thin applications.” “Thin” refers to ointments, while “application” refers to plasters. Since the Tang and Song Dynasties, the application of medicinal plasters has become more widespread. Wu Shiji’s “Li Yu Pianwen” from the Qing Dynasty is a specialized work on medicinal plasters, summarizing their formulas, applications, and especially the preparation techniques, leading to further development and improvement. His new perspective that “the principles of external treatment are the same as those of internal treatment, and the medicines for external treatment are also the same as those for internal treatment, differing only in method” has gained widespread trust and is highly regarded by later physicians. Medicinal plasters are commonly used for external treatments such as reducing swelling, detoxifying, and promoting tissue regeneration; however, they can also have internal treatment effects through external application, such as dispelling wind and cold, harmonizing qi and blood, resolving phlegm and stagnation, promoting circulation, treating rheumatism, and addressing injuries. In “Li Yu Pianwen,” the effects of medicinal plasters are described as “cutting” and “drawing out,” stating: “Wherever the disease accumulates, drawing it out prevents it from penetrating deeply; where the disease passes through, cutting it off prevents the evil from spreading further.” There are various types of medicinal plasters, with those made from oil and yellow lead being called black plasters; those made from oil and palace powder are called white plasters; those primarily made from rubber are called rubber plasters; and those made from rosin are called rosin plasters. The most commonly used is the black plaster.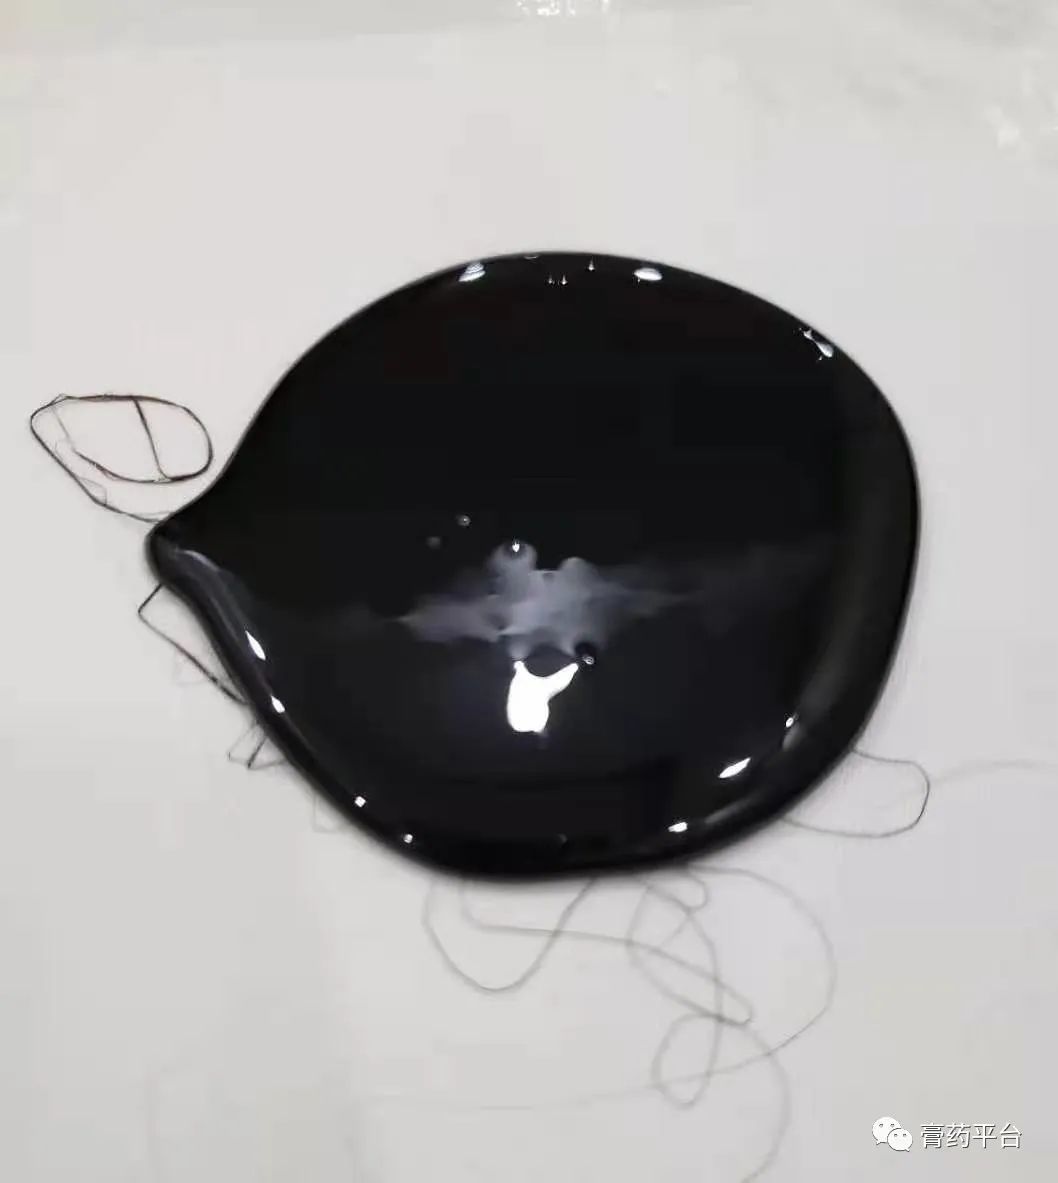 The quality requirements for medicinal plasters are as follows: 1. The texture should be appropriate, with suitable adhesion to the skin and no movement. 2. The appearance should be oily and delicate, with no irritation to the skin. 3. The application of the same type of plaster should be consistent, with a weight difference not exceeding ±5% (referring to the weight of the pure plaster without backing material). 4. It should be stored at room temperature without deterioration or loss of adhesion for two years. The preparation of medicinal plasters involves the following steps: soaking the herbs in sesame oil → boiling with fierce fire → simmering for a long time → filtering the exhausted herbs → allowing the medicinal oil to bead when dropped in water → adding yellow lead → incorporating fragrant or precious herbs or colloidal medicines → removing fire toxins → applying and cooling → and finally preparing for use. Below is an introduction to the preparation of black plasters: Step 1: Frying the herbs. First, heat the oil, add the herbs, and fry over low heat while stirring continuously to ensure even heating until the desired degree for making the plaster is reached (e.g., yellowing, browning, or blackening). Filter out the residue to obtain the medicinal oil. Note: 1. Sometimes, before frying, the herbs need to be soaked in oil for a certain period; it is commonly said that five days in spring, three days in summer, and seven days in autumn is ideal. 2. The herbs should be broken into appropriate sizes before adding; if too coarse, the effective components may not be extracted, and if too fine, they may settle at the bottom and be difficult to filter out. 3. The order of adding herbs depends on their properties; generally, there is a distinction between those that should be fried first and those that should be fried later. Juicy or fresh herbs should be fried first, such as soft-shelled turtle or fresh amaranth; solid herbs should also be fried first, such as shells or tree roots. Loose or small herbs should be added after the first batch has turned yellow, such as flower leaves and seeds. Step 2: Frying the yellow lead. Place the yellow lead in a clean iron or copper pot and fry over low heat until the moisture is completely evaporated and it becomes loose. Increase the heat and stir constantly. Note: If the yellow lead is over-fried, the plaster will be too hard. During the frying process, the yellow lead will turn deep red; do not worry, it will return to its original color once cooled.

Step 3: Refining the oil. The medicinal oil can be selected from tung oil, sesame oil, etc. If using sesame oil, place the non-alkaline sesame oil in a clean pot, boil over high heat until it bubbles, then reduce to low heat. Initially, the oil and water vapor will rise directly, and after a while, the gas will swirl around the pot. Use bamboo chopsticks to drop a few drops of oil into cold water; if they bead and do not disperse, the oil is ready. Note: 1. Sesame oil can be black or white sesame oil; black sesame oil is commonly used. If the oil contains alkali, it will overflow and the plaster will not adhere. 2. The fire for refining the oil should not be too fierce; if it catches fire, cover it with an iron pot lid to extinguish the flames. When the medicinal oil is ready, the speed of stirring should be quick, but avoid touching the bottom of the pot to prevent fire. Step 4: Adding the yellow lead. The ratio of oil to yellow lead is generally calculated as 195 grams of yellow lead for every 500 grams of oil, and adjustments should be made according to the season (in summer, up to 240 grams of yellow lead can be used; in winter, only 140 grams; in spring and autumn, 210 grams is appropriate). Experience also suggests a ratio of oil to yellow lead of 16:7, with an additional pound of sesame oil requiring four to five taels of yellow lead, being slightly less in winter and slightly more in summer. There are two methods for adding yellow lead: adding it while the oil is still on the fire and adding it off the fire. The former involves continuing to simmer the oil over low heat while slowly adding the fried yellow lead into the boiling oil, stirring continuously in a clockwise direction with a locust or willow stick. The oil will bubble and smoke; when the smoke diminishes, quickly drop a few drops of oil into cold water; if they bead and do not disperse, clean the beads with a dry hand and remove from heat, continuing to stir until it cools. Adding yellow lead off the fire means adding it after the medicinal oil has been removed from the heat.
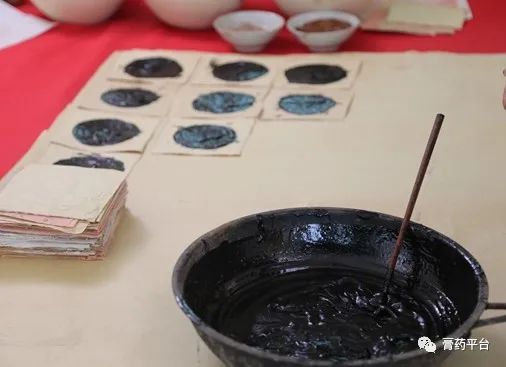
Note: 1. Never use iron utensils to stir at this stage, as contact between the iron and the pot bottom can ignite the entire batch of plaster. 2. Generally, adding yellow lead while the oil is still on the fire is preferred, as it is easier to remove the toxicity from the yellow lead, preventing itching. 3. When adding yellow lead, one person should stir while another adds the yellow lead for better operation. 4. The amount of oil in the pot should not exceed one-third of the pot’s capacity, or it may overflow. 5. This step is crucial for the quality of the plaster, and the timing of removing the oil from the fire must be mastered. Common standards for judging the degree of oil refinement include: ① Oil smoke: initially light blue, gradually turning dark black, and finally white thick smoke; when stirring the oil, the smoke becomes more apparent, with white smoke being the standard. ② Oil bubbles: at the beginning of boiling, bubbles are mostly near the pot wall; when they gather towards the center of the pot, it is the standard. ③ Oil beads: when a small amount of oil is dropped into water, it should bead and not disperse, with the plaster being black and shiny. 6. “The blackness of the plaster depends on the frying, while the brightness depends on the stirring.” When adding yellow lead, it should be evenly distributed, and stirring should be continuous in one direction to prevent settling. 7. The speed of adding yellow lead must be controlled; if too fast, it may overflow, and if too slow, the temperature of the oil will drop, affecting the effect. 8. If a fire occurs while adding yellow lead, it should be extinguished before proceeding, as it may cause an explosion. 9. The plaster should be appropriately aged; if it is too old, add some younger plaster oil; if too young, reheat. Generally, it should be slightly younger, as it needs to be heated again during application. Step 5: Removing fire toxins. After the plaster is formed, spray cold water into the plaster pot, causing black smoke to rise. Then, twist the plaster into small lumps and soak them in cold water for 3 to 10 days, changing the water 1 to 2 times daily. Alternatively, after forming the plaster, it can be directly “poured into a container and soaked in water for three days to remove fire toxins.” Step 6: Adding fine herbs. Add finely ground precious herbs from the formula, such as borneol and musk, to the melted plaster and stir. Note: Adding cold herbs to hot oil will cause overflow; do not worry. Add a little at a time and stir quickly to avoid issues; otherwise, the entire batch of plaster may overflow and be wasted.
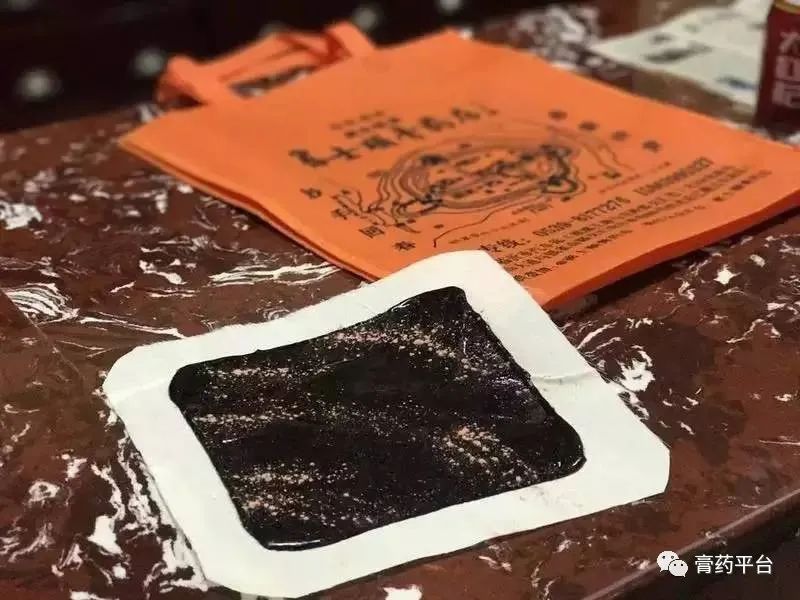
Step 7: Spreading the plaster. Quickly take the still warm plaster, form it with bamboo chopsticks, and spread it in a circular shape around the center of the paper cloth using the chopsticks. This indicates that the plaster is ready. Note: 1. Use cotton cloth soaked in cooked and cooled paste to mix and knead while hot, then hang it up to dry; this is how the paste cloth is prepared. The plaster will not seep or itch, and can be applied for seven days without issues. 2. The area covered by the plaster should generally occupy 1/3 of the plaster for round shapes and about 2/5 for rectangular shapes. Plasters for surface treatment should be thinner, while those for internal treatment should be thicker. Plasters that are changed frequently should be thinner, while those that are left on for a long time should be thicker. Step 8: Applying the plaster. First, heat the plaster over a hot water pot or alcohol lamp, candle, etc., to soften and melt it to an appropriate temperature before applying.
Note: 1. Before applying, clean the affected area with warm water, or wash the skin with slices of ginger, or disinfect the affected area with alcohol, and wait for the skin to dry before applying. Do not apply if the skin is sweaty or humid, as it will not adhere properly. If the weather is cold and the plaster does not adhere well, apply heat after sticking it on. 2. Change the plaster regularly to prevent irritation from lead compounds in the plaster. 3. If there is an allergic reaction after applying the plaster, with increased local itching or the formation of blisters or ulcers, remove it and disinfect with alcohol or apply gentian violet, and wait until the itching subsides and the wound heals before reapplying. Alternatively, preventive measures such as sprinkling some menthol ice on the plaster before application can be taken. In severe cases, it should be avoided. 4. Do not heat the plaster over a coal stove, as the carcinogenic substances and harmful gases produced during combustion can be absorbed by the plaster base and moisture, penetrating the skin and harming health. 5. Do not apply the plaster directly to broken skin or infected areas to avoid purulent infections. 6. Plasters containing active blood-moving ingredients such as musk and myrrh should be used with caution by pregnant women, especially on the waist, abdomen (particularly the lower abdomen at the Qihai and Guanyuan acupoints), navel, and the Sanyinjiao acupoint on the lower limbs, to prevent miscarriage and other accidents. 7. Generally, the efficacy of a plaster lasts for 1 to 2 days; black plasters have a longer effect and can generally be used continuously for over a week before removal, so they should not be changed too frequently or too infrequently. 8. When removing the plaster, do so gently to prevent tearing the skin. For any plaster that remains stuck to the skin, use gauze soaked in gasoline to clean it, then disinfect with alcohol.

【Disclaimer: We respect originality and value sharing. Some articles are sourced from the internet, and the copyright belongs to the original authors. If your rights are infringed, please contact us promptly, and we will delete it within 24 hours.】