The pricking and cupping therapy utilizes skin needles to prick the affected area, followed by applying cups locally to prevent and treat diseases.
1. Basic Methods of Pricking and Cupping Therapy
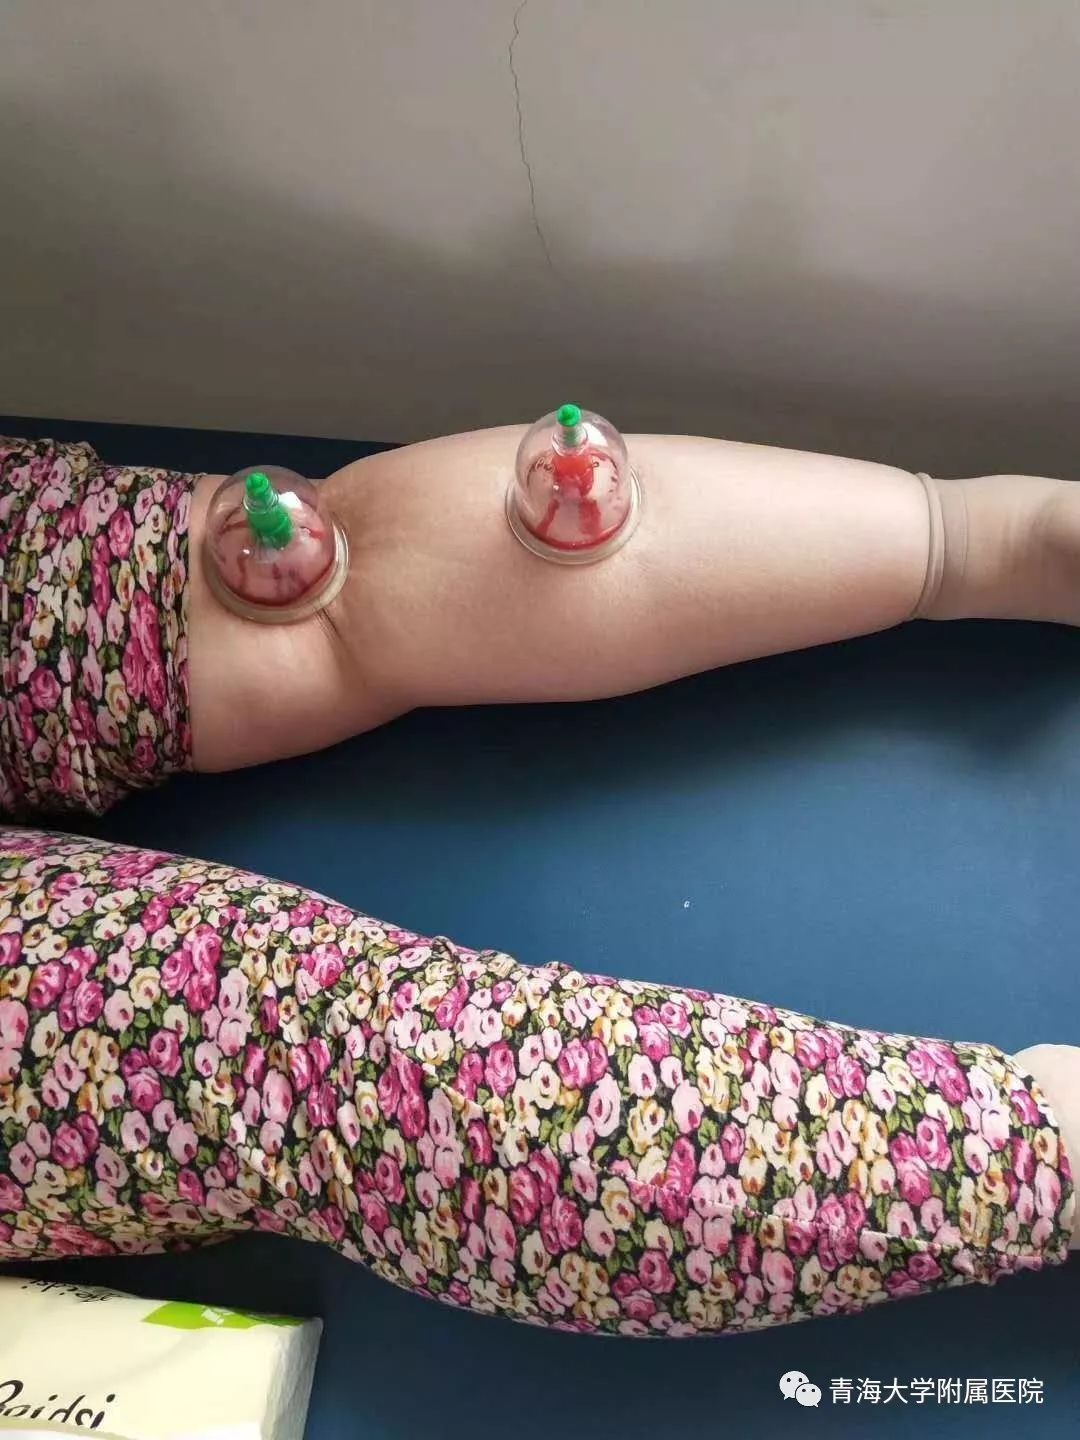
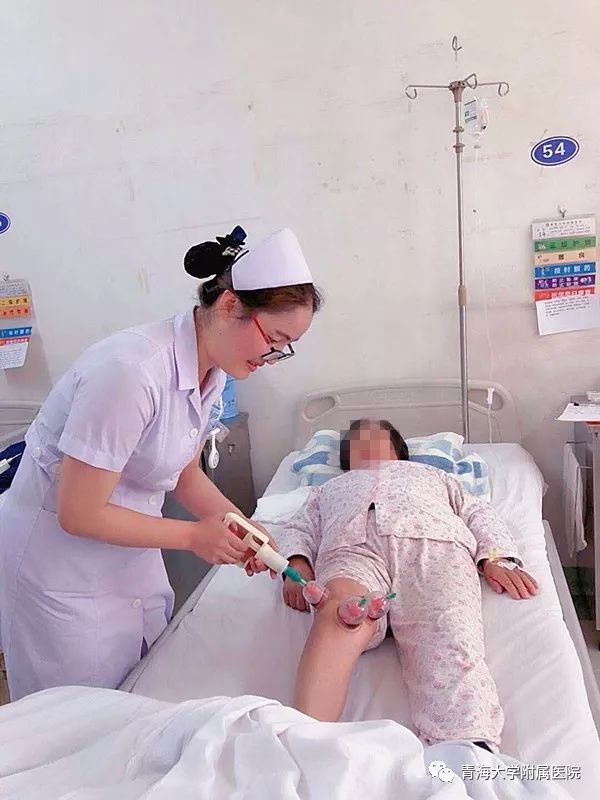
The pricking and cupping method: This is often used for deeper lesions that are localized. A three-edged needle (san leng zhen) is quickly pricked dozens of times, and then a cup is applied immediately. The cup is left for about 15-20 minutes. After removing the cup, use a disinfected cotton ball to wipe away blood stains, and the blood clots inside the cup should also be cleaned and disinfected for future use.
It should be noted that strict disinfection of both the needles and the acupuncture points is necessary during pricking and cupping to prevent infection.
2. Classification of Pricking and Cupping Therapy Treatments
1. Local pricking and cupping: Pricking is done at the lesion site, moving from the periphery to the center, followed by cupping at the pricked area.
2. Acupuncture point pricking and cupping: Pricking is performed at selected acupuncture points followed by cupping.
3. Comprehensive pricking and cupping: Depending on the condition, a combination of the above methods can be reasonably selected for treatment.
3. Mechanism of Disease Treatment with Pricking and Cupping
This technique uses skin needles to prick the skin, regulating the functions of the organs and meridians, thereby unblocking the meridians, harmonizing Qi and blood, and promoting the body to return to normal, thus achieving the purpose of preventing and treating diseases.
4. Indications for Pricking and Cupping Therapy
Acute conditions, heat syndromes, excess syndromes, stasis syndromes, and pain syndromes.
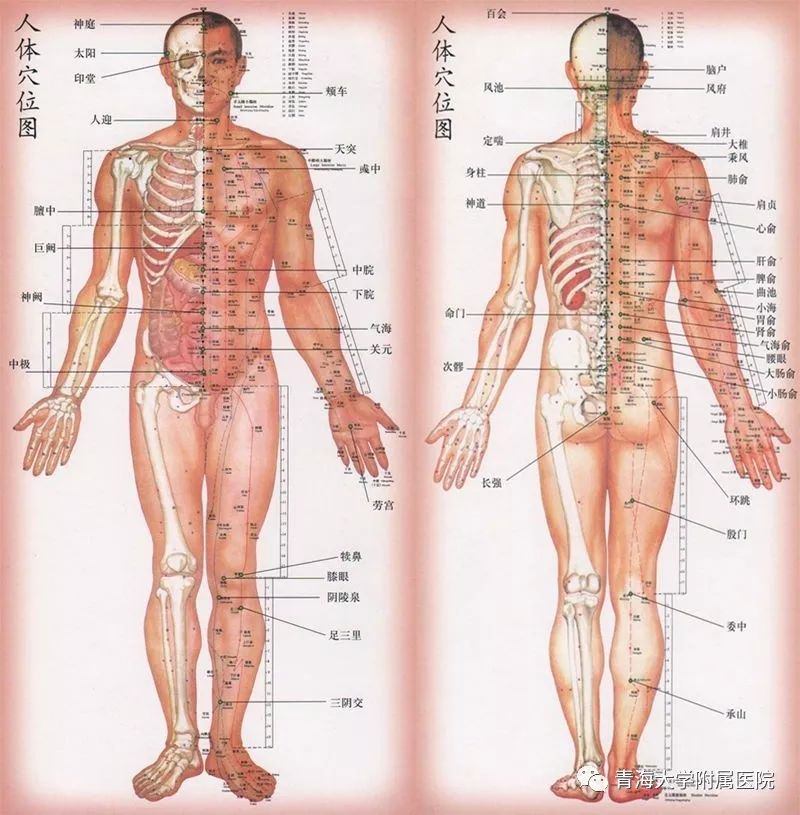
5. Selection of Acupuncture Points for Pricking
The selection of bloodletting sites should follow these principles: selection along the meridians, local selection, and experience-based selection.
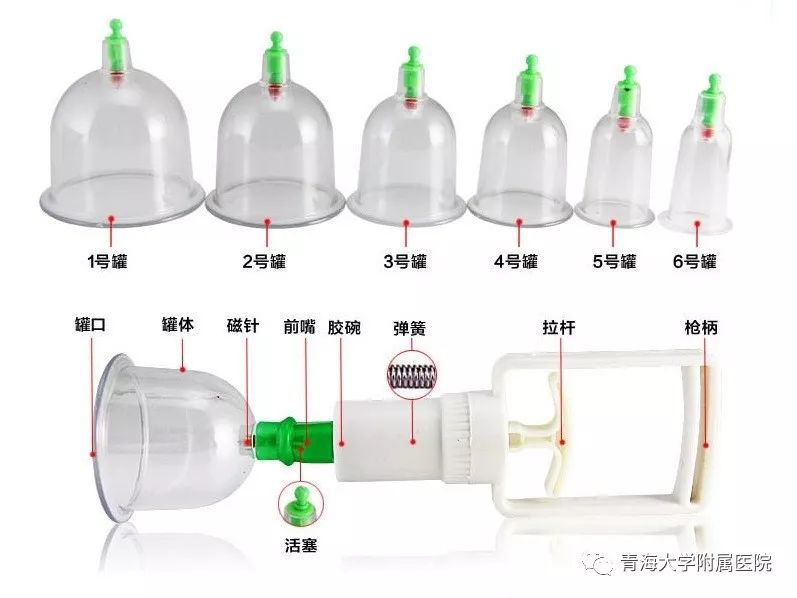
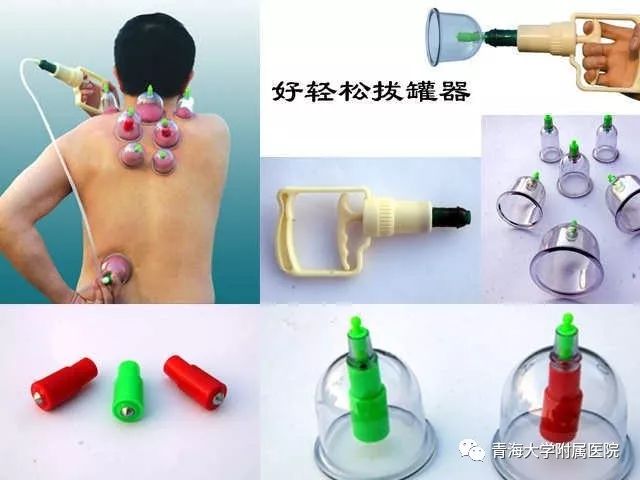
6. Instruments for Pricking and Cupping
7. Preparation of Items Before Operation
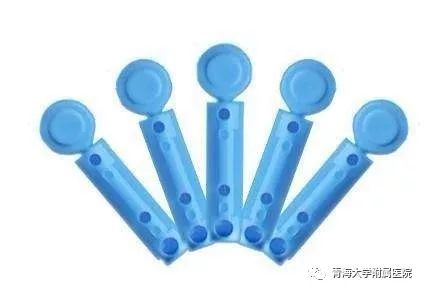
1. Preparation of needles: three-edged needles, skin needles, blood collection needles, or disposable injection needles;
2. Disinfectants: iodine or 75% alcohol;
3. Disposable sterile gloves, sterile cotton swabs or cotton balls, disposable sterile gauze; masks, and if conditions allow, eye masks.
4. Disinfected glass fire cups or disinfected gas cups (quantity to be assessed and prepared accordingly);
5. Medical waste disposal bins: prepared according to medical waste classification management requirements; sharp containers, yellow medical waste bags.
8. Positioning Preparation Before Operation
(1) Supine position: Suitable for acupuncture points on the head, face, forehead, chest, abdomen, and the anterior sides of the upper and lower limbs.
(2) Prone position: Suitable for acupuncture points on the head, neck, shoulders, back, waist, and the posterior sides of the upper and lower limbs.
(3) Lateral position: Suitable for acupuncture points on the sides of the head, face, shoulders, chest, and outer sides of the lower limbs, excluding the areas in contact with the bed.
(4) Sitting position: Suitable for acupuncture points on the back of the head, neck, shoulders, and waist.
(5) Reclining sitting position: Suitable for acupuncture points on the front of the head, face, chest, abdomen, and front of the legs.
9. Disinfection Preparation Before Operation
Preoperative skin preparation
After determining the treatment area, use a hot towel to wash the area to be cupped, then dry it with disinfected gauze before cupping; if needling or pricking and cupping is performed, the skin must be disinfected with alcohol or iodine, and wait for the skin to dry before cupping; if there is hair in the area to be cupped, it must be shaved, cleaned, and dried before cupping.
The practitioner must strictly follow the six-step handwashing method before and after the operation, emphasizing the importance of hospital infection control.
10. Basic Operating Methods
1. Stimulation speed: The speed must be uniform to prevent inconsistent pricking. The needle tip should move vertically, meaning the needle should be inserted and lifted vertically, repeating this process. The needle should not be inserted at an angle or dragged back, as this will increase the patient’s pain.
2. The method of removing the cup should be gentle; one hand should hold the skin at the edge of the cup, press slightly to allow air to enter, and then the cup can be removed without pulling hard or twisting.
When using multiple cups, the arrangement should not be too close to avoid pulling the skin and causing pain.
3. After removing the cup, use sterile gauze to wipe away blood, then disinfect the treatment area.
4. All treatment tools and medical waste should be classified and placed for disposal.
5. Cupping time: Large cups with strong suction can be left for 5-10 minutes; medium cups should be left for 10-15 minutes; small cups should be left for 15-20 minutes.
11. Contraindications:
Local skin injuries and ulcers, bleeding disorders, high blood sugar, and fasting.
12. Precautions
1. Check the needles; if the needle tip has barbs or is damaged, it should be replaced immediately.
2. Both the needles and the skin (including acupuncture points) must be disinfected.
3. ① Choose appropriate cups based on the area of the cupping site.
② Cupping should be performed on areas with sufficient muscle; it is difficult to cup on areas with thin muscles, prominent bones, loose skin, or excessive hair, as the cups may easily fall off.
③ The position should be appropriate; do not change positions during cupping to avoid the cups falling off.
④ Cupping is not suitable for areas with skin allergies, ulcers, edema, or large blood vessels. Pregnant women should use caution on the abdomen.
4. The course of this therapy generally depends on the severity of the condition and the patient’s constitution, usually performed once every other day, with 1-3 sessions considered a course of treatment.
Contributed by: Integrative Medicine Department, Li Yinghua
Supervised by: Jiang Hongsheng
Edited by: Ma Zhiqiang